June 28, 2012

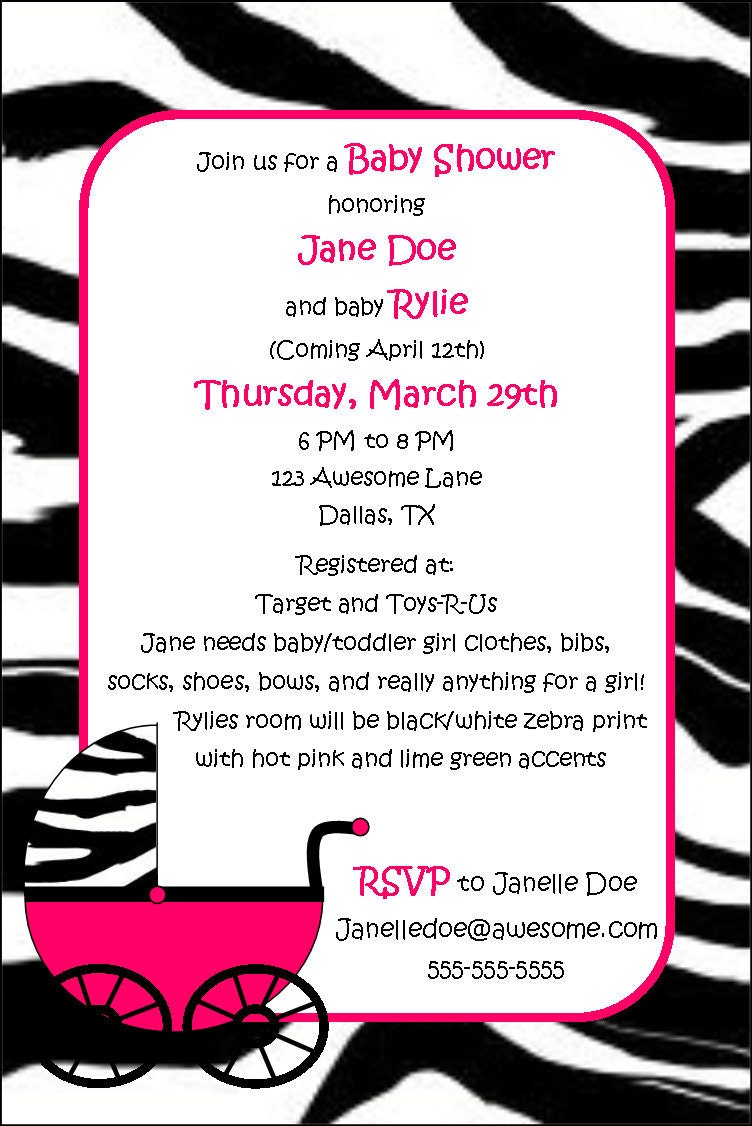
Pink Zebra Baby Shower Invites

Pink Zebra Baby Shower Invites for sale now!
(1) Customize your info and be sent this baby girl pink zebra baby shower invitation, ready to print!
(2) Or make a custom order for me to do all the dirty work for you (Print, Cut, Address, Mail and Send)

$10.00
Pink Zebra Baby Invitations

Hair Tutorial: Half Up Messy Twist

Here is a video for a half up style with a messy twist. Let me know if you guys like it, and what type of hair style you want to see me do next! (Half-Up, All the way up, Down, etc.)
Thanks for Watching!

P.S. I am going to be showing a preview of my 2013 collection of ties, headbands, necklaces, pettiskirts, baby stuff, and lots more very soon! Everyone will have a chance to win a gift card and free stuff! So get ready for that and keep checking back!

Stefanie

June 25, 2012

Hair Tutorial: Scrunched Hair

HAHA - Don't you LOVE the picture that You Tube stops the video on?

Check out this video on how to scrunch your hair and give it a wavy/curly look!


Check out this additional video on how to scrunch your hair using a diffuser... (for added scrunch and waviness if you need more)

April 9, 2012

No Water Mess Bubbles

This is so fun to do! Let your kids play in bubbles without all the watery mess or bubble solution mess! Simply follow the directions below and blow into the top where you normally drink from. A long snake bubble will begin to appear. Continue to blow and make it as long as you can, or shake it off and let your kids play with it! Put it on your face to make beards or stomp on it on the ground! Preparing it once will last more than one blow too! DO NOT breathe in the air because it WILL make bubbles that come toward your mouth!


Supplies needed:
One empty water bottle with cap off (Cut off the bottom)
2 rubber bands (to hold the washcloth on)
1 washcloth (to cover the cut off end and held with rubber bands)
small amount of water
small amount of dish soap

Directions:
Cut off the bottom of the empty water bottle and place the washrag on the cut off end. Secure with 2 rubberbands. Dip the end with washcloth in water or just soake the wash cloth in water. Put dish soap on the wash rag and use your fingers to spread it around the cloth. This will last a good while before you have to get more soap or water on it!


April 5, 2012

Magnetic Learning and Travel Games

So, I had an idea for something to keep my kids entertained in the car as we travel, that would not be messy! Here is what I came up with....

I just made a shape sorter and race track to see if this would work... but really you can do anything! The kids can learn this way, or just have fun!
The possiblities are endless!

Supplies:
Cut outs of shapes, animals, or whatever else you want (I just printed mine out then cute)
Self-Laminating sheets (to laminate the small pieces)
Small craft magnets for the back of the items
Stove Top burner covers (magnets will stick to these)
Either printed paper & mod podge, or printable magnetic paper for the background (I originally tried the magnetic paper, thinking I could just swap out the background and keep the same stove top burner cover. This DOES work, but I discovered the stove top covers stack sooo well, so it is your choice!)


They stack so well... it won't take up any more room than one, but you can actually have lots!

Look online for ideas... you can use similar ideas as a file folder game... but these seemed to me easier as well as less messy since they magnetize very well!
February 25, 2012

Handmade Ornaments

What a fun thing to do with your kids! This year I made handmade ornaments with my kids! They are still very young, but we tried! Use cookie cutters or even smash your kids hands into them! Mix the flour, salt and water, shape and bake! That's it!


Here is a recipe to use....

4 Cups Flour
1 Cup Salt
1 1/2 cups warm water

(Makes about 15 ornaments, depending on the size)

Mix and spread out on floured surface about 1/8" thick or however thick you want! Use a toothpick, or a straw (what I used) to make holes for yarn to hang onto the tree!

Bake at 325 degrees until hard. (About 1 hour)

Keep it as is, paint it, decorate it however you want!

Hair Tutorial: Round the Barrel Curls

Here is a quick tutorial on curling your hair with your curling iron WITHOUT clamping. It is the way to go, if you didn't already know!